
Mobile app · Portal
View, select and print QR labels
Print one label or a batch, then scan a label to check it.
See how to print one label
About this walkthrough
This walkthrough follows the written steps below and doesn’t change anything in Manatky. Its frames are real screens from a test workspace with fictional data. The last frame is an illustration: scanning with a camera isn’t shown here.
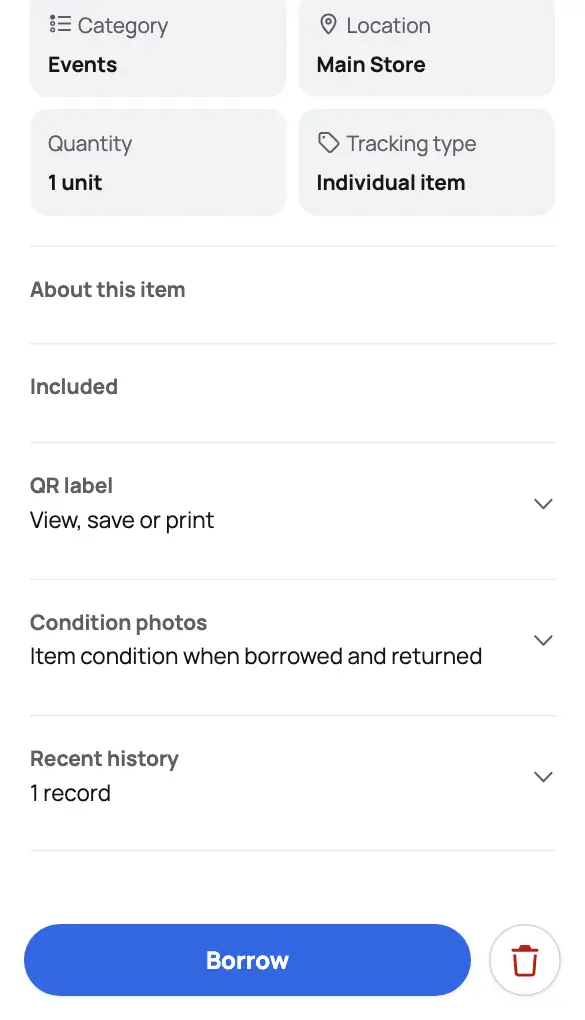 Product screen
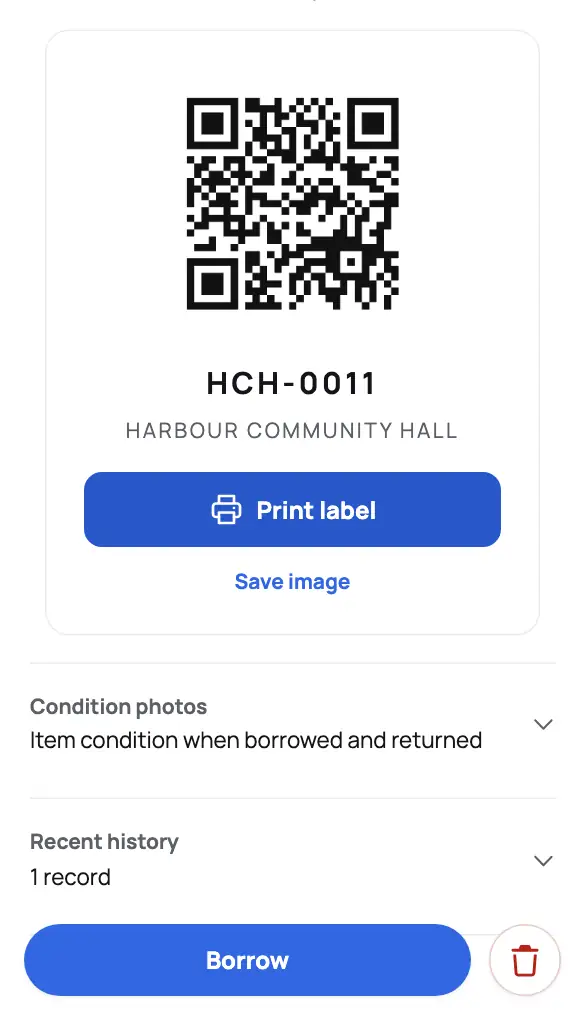
Step 1 of 4 · QR labelOpen the item and expand QR label.
Arrow keys ← → change step.
See how to print several labels
About this walkthrough
This walkthrough follows the written steps below and doesn’t change anything in Manatky. Its frames are real screens from a test workspace with fictional data.
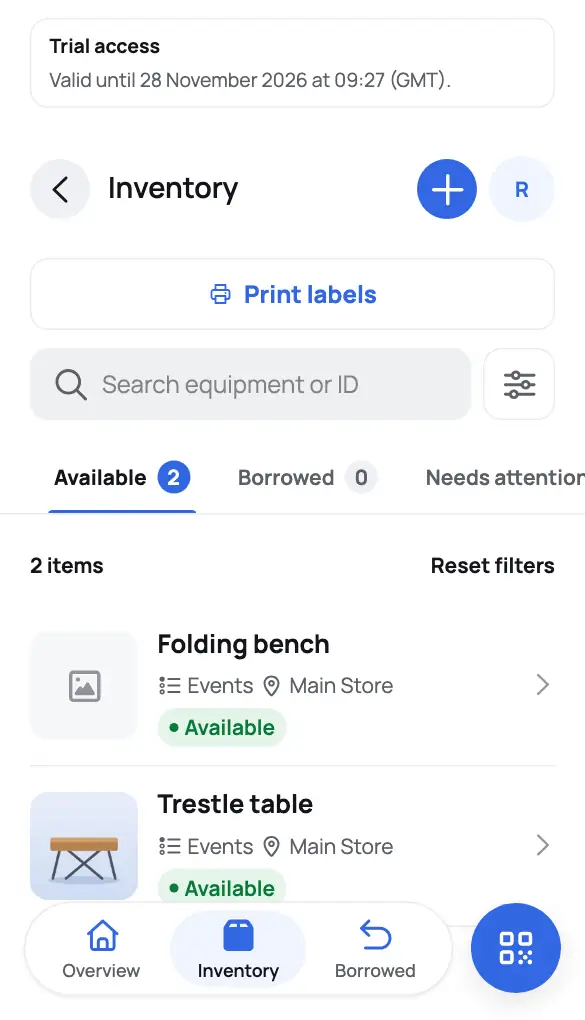 Product screen
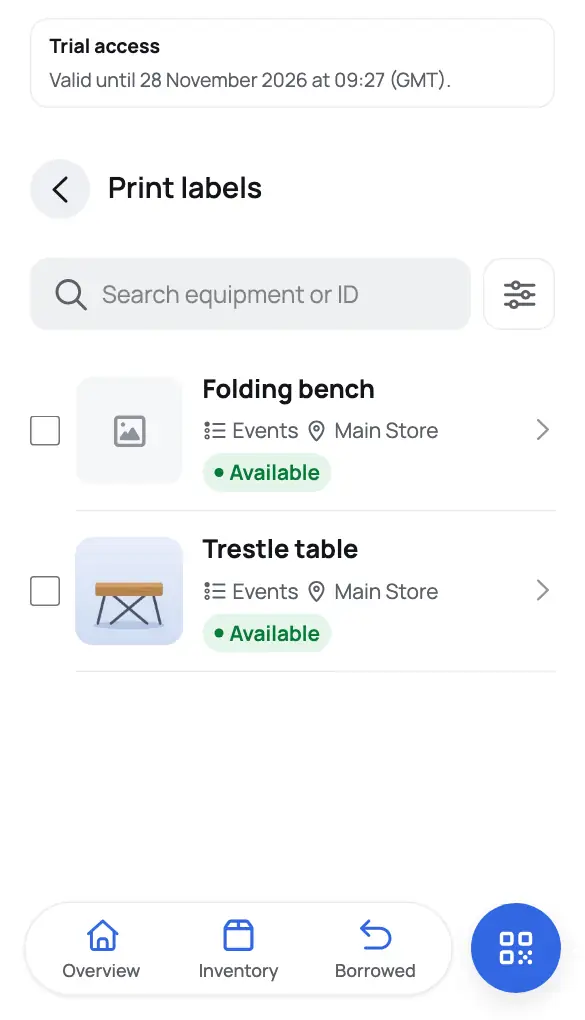
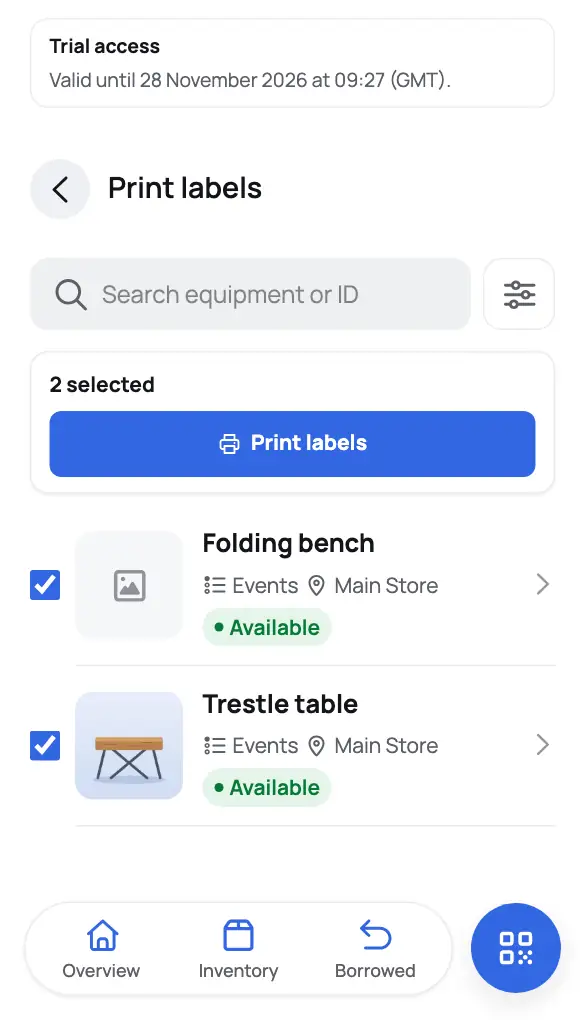
Step 1 of 4 · Print labelsIn Inventory, choose Print labels.
Arrow keys ← → change step.
Print one label
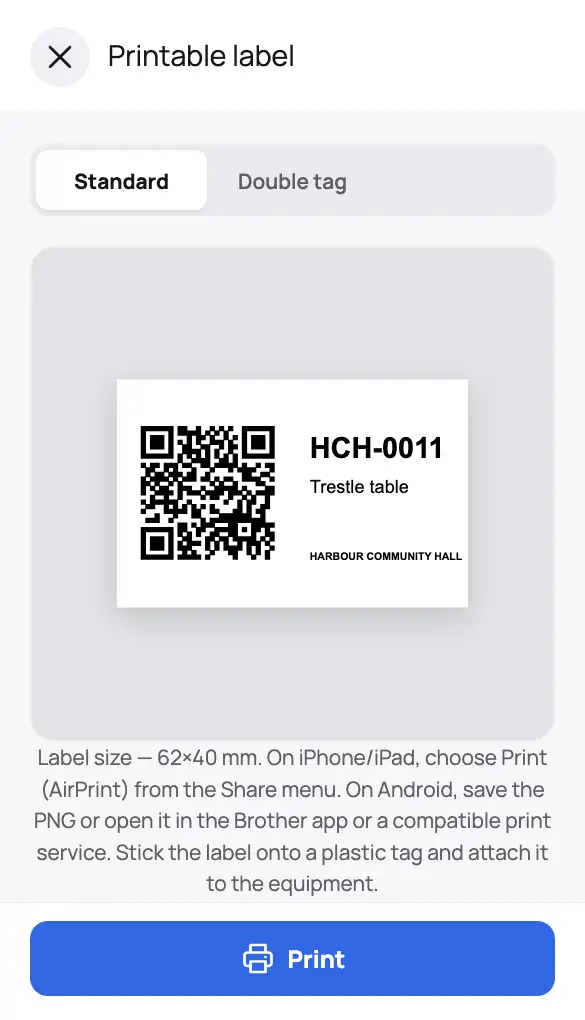
In the app, open an item, expand QR label, choose Print label and then Print. Check the name and code.
Print a batch
In the app, open Inventory, choose Print labels and select the equipment.
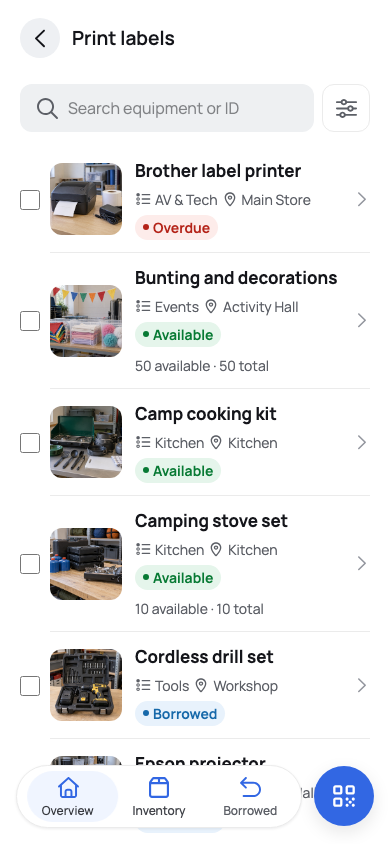
Choose the equipment whose labels you want to prepare. Pick a format
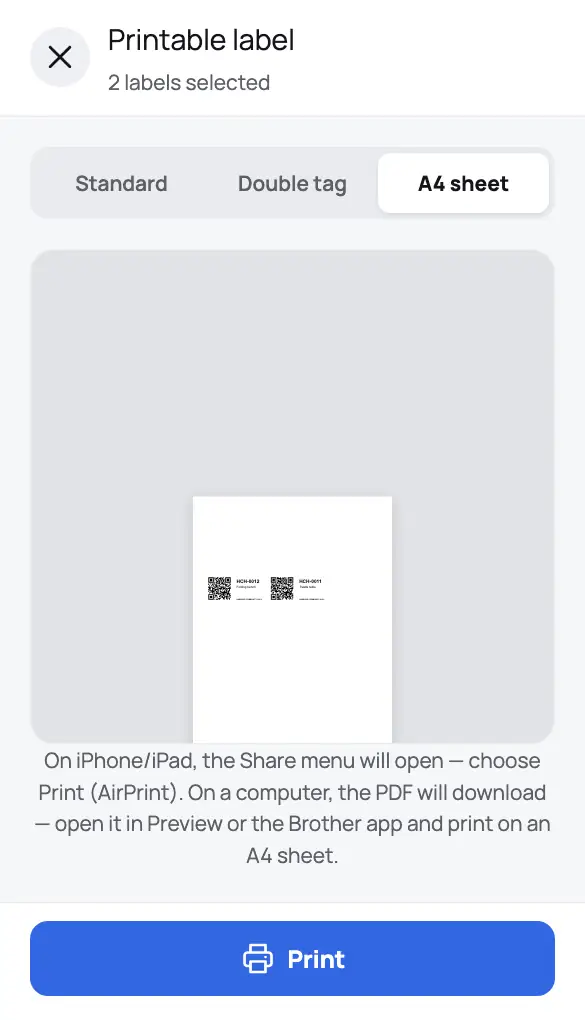
Choose Standard or Double tag — and A4 sheet when you print several labels at once — then check the preview. Keep each label with its item.
Or use the Portal (administrators)
Administrators and owners can select rows in the Portal’s Inventory table and choose Print labels.
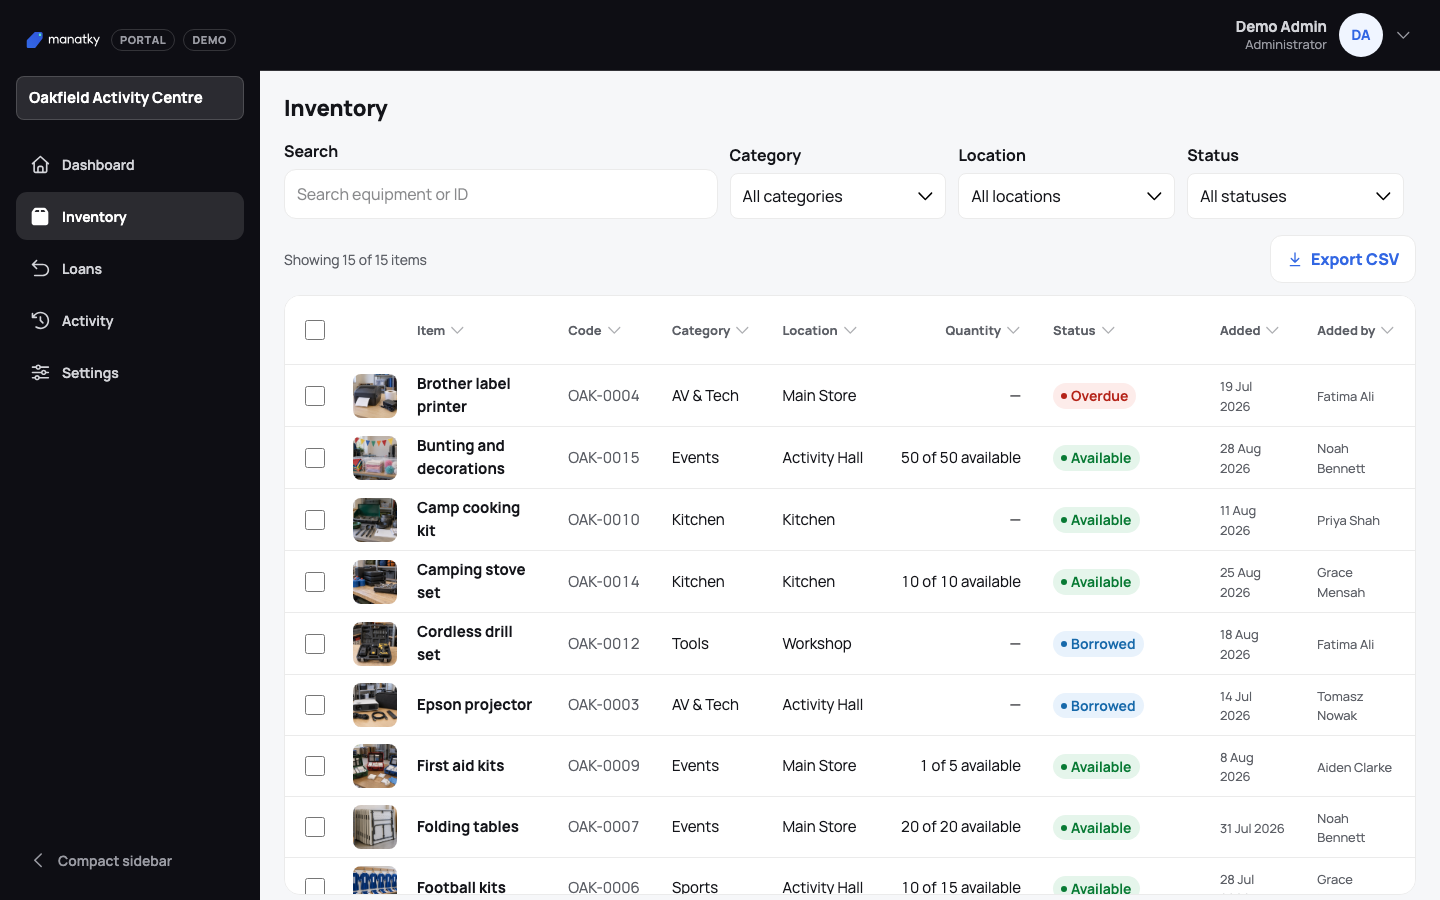
Select equipment from the Inventory table before opening the label workflow. Test a label
In the app, choose Scan and point the camera at the code. The matching item should open.